


Card making made easy – Accordion Card 1
For my friend Amanda, an aspiring handmade card maker. Hi Manda.
Accordion Card

 There’s a box type musical instrument that I saw as a child which was simply called the accordion. I thought it was the most wonderful thing when I first encountered it! I must have been 12, but more wonderful was the person playing it…making all that beautiful music without even looking once at the thing! Double wow!
Well, it’s been a while since I first saw that first accordion but the word will always make me think of my first encounter with that magical music instrument.
This card fold must have been named after that musical instrument because of the style of the folds, and actually, the accordion fold is a phrase used quite often in the card making world! It is also referred to as the concertina card.
Now Manda, there are many different card folds in the handmade card making world, I’m going to try and follow the alphabetical order of the folds as I remember them.
First of all, you need to understand that a basic accordion fold has four panels. If we start with an A4 paper therefore, you can fold it in half and then fold each side back in half towards the spine. And like that you have an accordion card! You will then use your pattern paper to decorate your card and that also provide sturdiness to your card.
What you’ll need:
Card stock cut at 29,97 cm x 15 cm and scored so that you have 4 equal panels. I just used my Crafters companion for mine because it’s clearly marked for this type of fold. Makes life so easy!

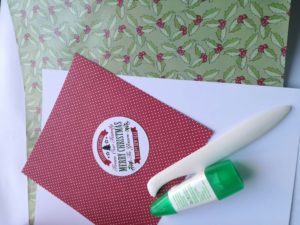

Glue
Coordinating paper
Some embellishments of your choice.
I forgot to mention that when I first started making cards everything seemed to be measured in inches, so now I generally measure my cards in inches and that’s what will happen with most of my next tutorials .
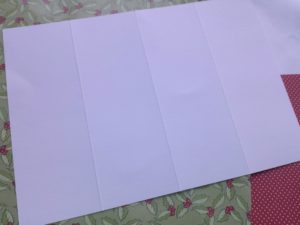
If you don’t have a cutting board don’t despair, just use a ruler and the back of a table knife to score your card professionally! Score your paper 29,97 cm x 15 cm on the longer side at 7,425 cm; 14, 85 and at 22,275 cm by running the back (blunt side) of your table knife along the ruler.
Fold mountain valley style

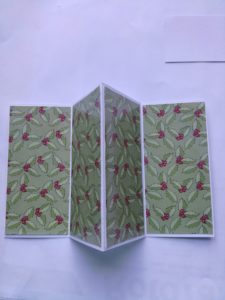
Cut your coordinating paper into 4 pieces that are slightly smaller than each panel of the main card so as to make a small boarder and glue to the card.

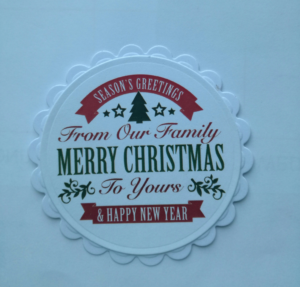
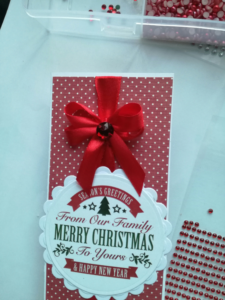 I designed my sentiment using my silhouette program, printed out and cut it out with my circle die. This part is a bit advanced but I’m giving this card to a friend for Christmas so I needed it to have a professional finish. I also made an extra panel for the outer part of my card I also added Ribbon and a beautiful red rhinestone to complete.
Here’s my completed one.

Happy crafting my friend! Send me your one…